Things to Make: Simple Crochet Duster Cardigan
.jpg)
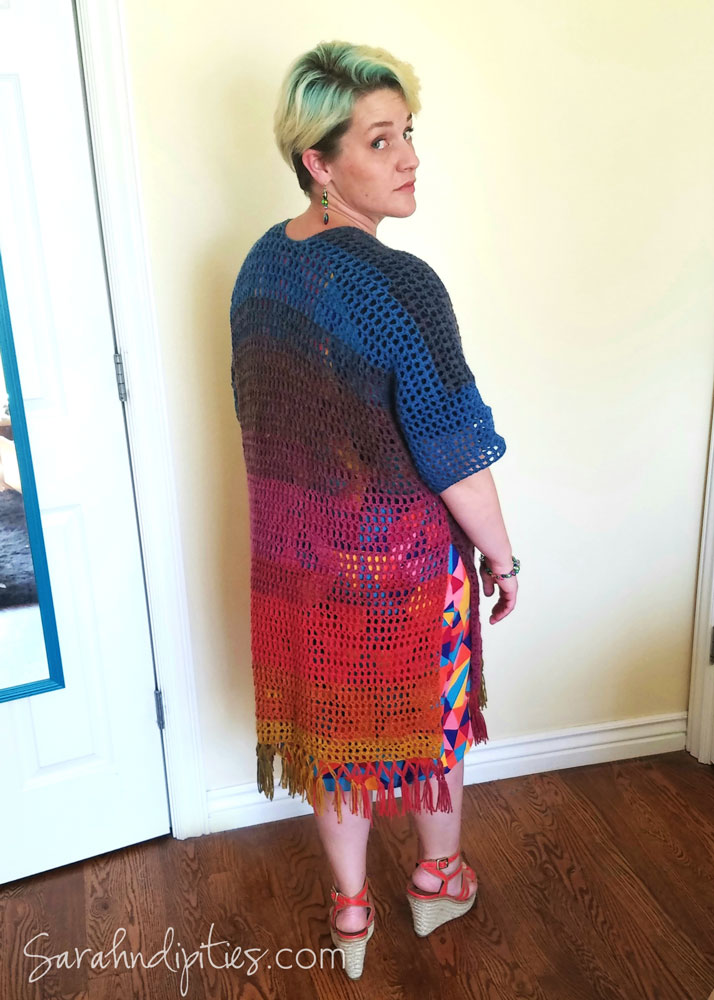
I've been busy with the start of a new school year for my kiddos, but while they've been at school I've been busy trying to write up a pattern for my new favorite thing: a Crochet Duster Cardigan.
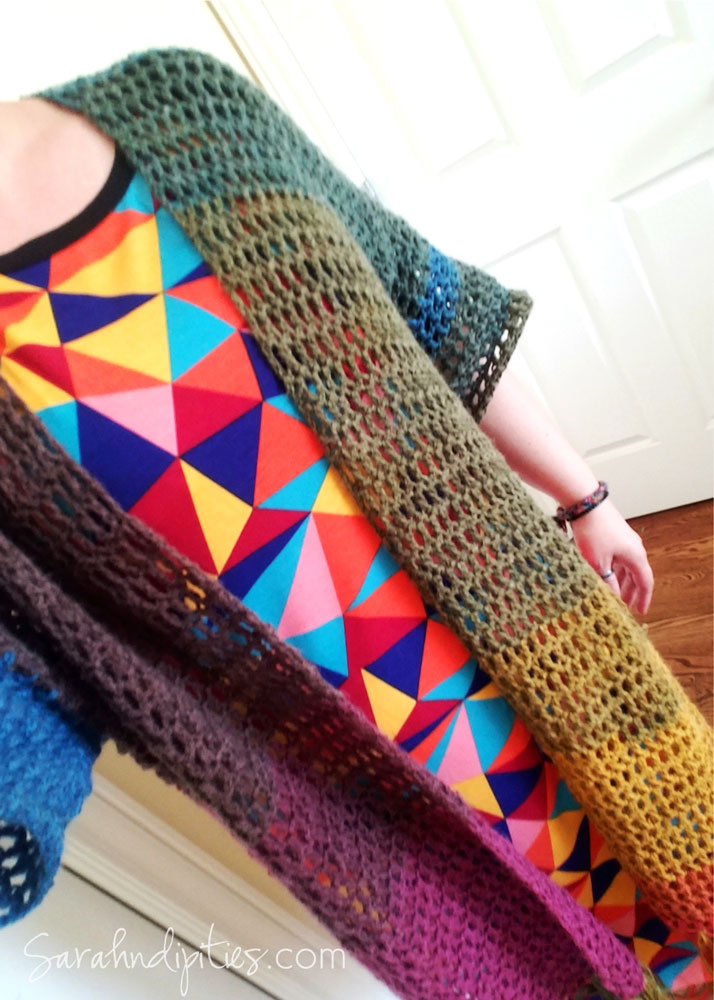
Long duster-style shrugs are all the rage right now, and when I came across this amazing Mandala yarn by Lion Brand I knew I wanted to try making one of my own!
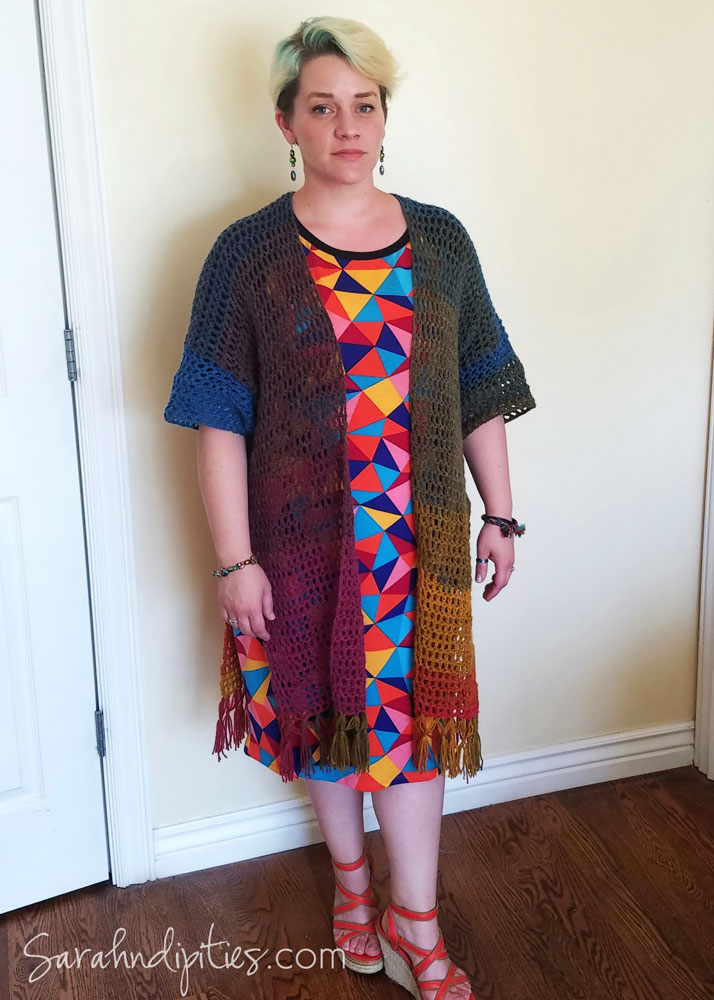
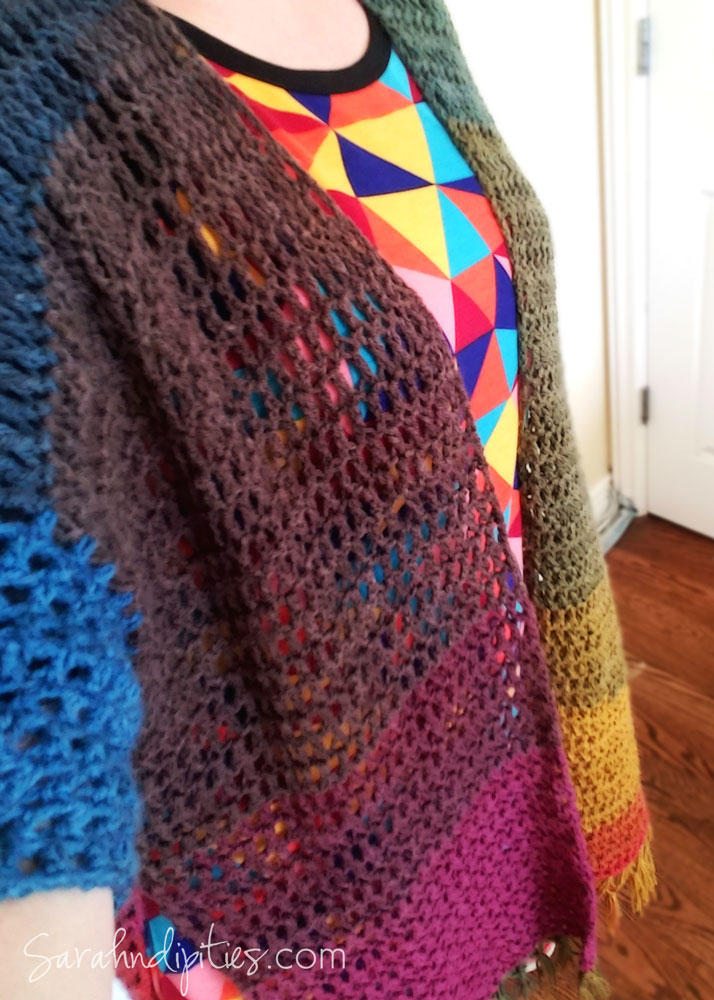
I really love the way it turned out...and the yarn was so much fun to work with! Sorry you have to see me as the model for my finished cardigan...but now you know I love COLOR! This particular yarn comes in several self-striping variegated varieties...it's like magic! (On a side note all the Mandala yarns are named after magical creatures and beings! So fun!)
I think it is my new favorite accessory...and I will probably make one in every single Mandala color available! LOL!

SUPPLIES NEEDED:
2 skeins of Lion Brand Mandala yarn (or about 10.5 oz of any light sport/ #3 weight yarn) My example uses Chimera.
Crochet hook size I (5.5mm)
Scissors
Needle
ABBRVIATIONS:
ch = chain
sc = single crochet
dc = double crochet
beg = beginning
sl st = slip stich
st = stitch
sp(s) = spaces
RF = right front
LF = left front
CROCHET DUSTER CARDIGAN
CH 104
ROW 1: Dc in 5th ch from hook. (Sk next ch, dc in next ch, ch 1)* Rep to end of row, working last dc in last ch. Ch 4, turn - counts as first dc, ch 1 on next row now and throughout. (52 dc & 51 ch 1 sps)
ROW 2: (Sk next ch 1 sp, dc in next dc, ch 1)* Repeat to end of row. Ch 4, turn.
ROW 3-50: Repeat row 2.
RF ROW 51 (begins RF side): (Sk next ch 1 sp, dc in next dc, ch 1)* Repeat 24 more times. Ch 4 turn. (26 dc & 25 ch 1 sps)
ROW 52-100: Repeat row RF51. Fasten off, weave in ends.
Continue for front LF side as follows:
LF ROW 51: Returning to ROW 50, leave a (ch 1 sp, dc, ch 1 sp) then attach yarn in next dc. Ch 4, dc in next dc. (Sk next ch 1 sp, dc next dc, ch 1)* Repeat to end of row. Ch 4, turn. (26 dc & 25 ch 1 sps)
ROW 52-100: Repeat row LF51. Fasten off, weave in ends.
To form the arm holes for the cardigan, fold the left and right sides over the top, matching ROW 1 with ROW 100. You may want to pin it together so it doesn't move aroung too much during the next part.
Count 24 spaces up edge, attach yarn and stitch sides together over the next 8 spaces. Fasten off. Repeat for the other side.
Remove any pins and turn the cardigan right side out.
SLEEVE:
On the right-facing side, attach yarn at seam where sides are sewn together.
ROW 1: CH 4, dc in next end st, ch 1. (Sk next sp, dc in next end st, ch 1)* Repeat around sleeve for a total of 36 dc and ch 1 sps. Sl st in 3rd ch of beg ch 4 st. Do not turn.
ROW 2: Ch 4, (dc in next dc, ch 1)* Repeat around. Sl st in 3rd ch of beg ch 4 st.
ROW 3-5: Repeat row 2.
ROW 6: Ch 4 (dctog over next 2 dc, ch 1, dc, ch 1 in next 4 dc)* Repeat around. 1st ch 4 counts as LAST dc. Sl st to 3rd ch of beg ch 4 st.
ROW 7: Repeat row 2.
ROW 8: Ch 4 (dctog over next 2 dc, ch 1, dc, ch 1 in next 4 dc)* Repeat around. 1st ch 4 counts as LAST dc. Sl st to 3rd ch of beg ch 4 st.
ROW 9-10: Repeat Row 2. Fasten off.
Repeat on other side for the 2nd sleeve.
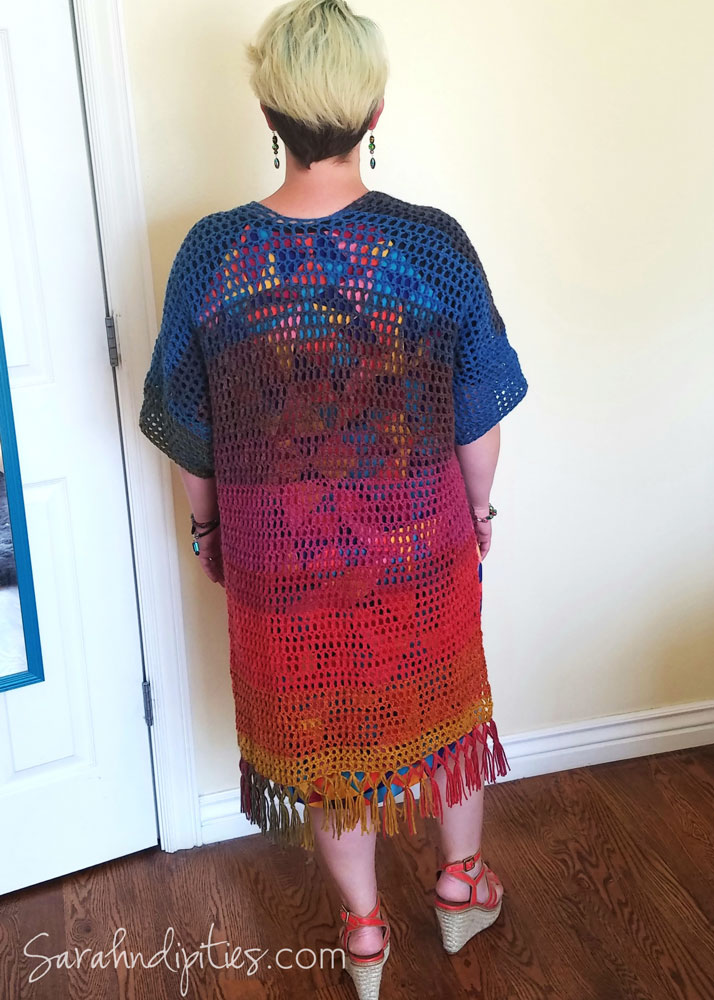
Weave in all extra ends, and add fringe to bottom edges of cardigan, if desired.
CLICK HERE for really great (and simple) instructions on how to make and add fringe to a project!
Isn't so pretty and simple! Now wear it EVERYWHERE and WOW your friends!
You can purchase an east-to-print download of this pattern, for just $5 usd, by CLICKING HERE!
CROCHET DUSTER CARDIGAN DOWNLOAD!
.jpg)
P.S. I was not compensated by Lion Brand yarn in any way for creating this post or mentioning my use of this yarn!


